knotandoak.com Cabinet of knots · drawer 14, loopsPull to open
Specimen AB-1 · mid-line loop
How to tie anAlpine Butterfly Knot
Nodus papilio alpinus (the butterfly loop, the lineman’s loop)
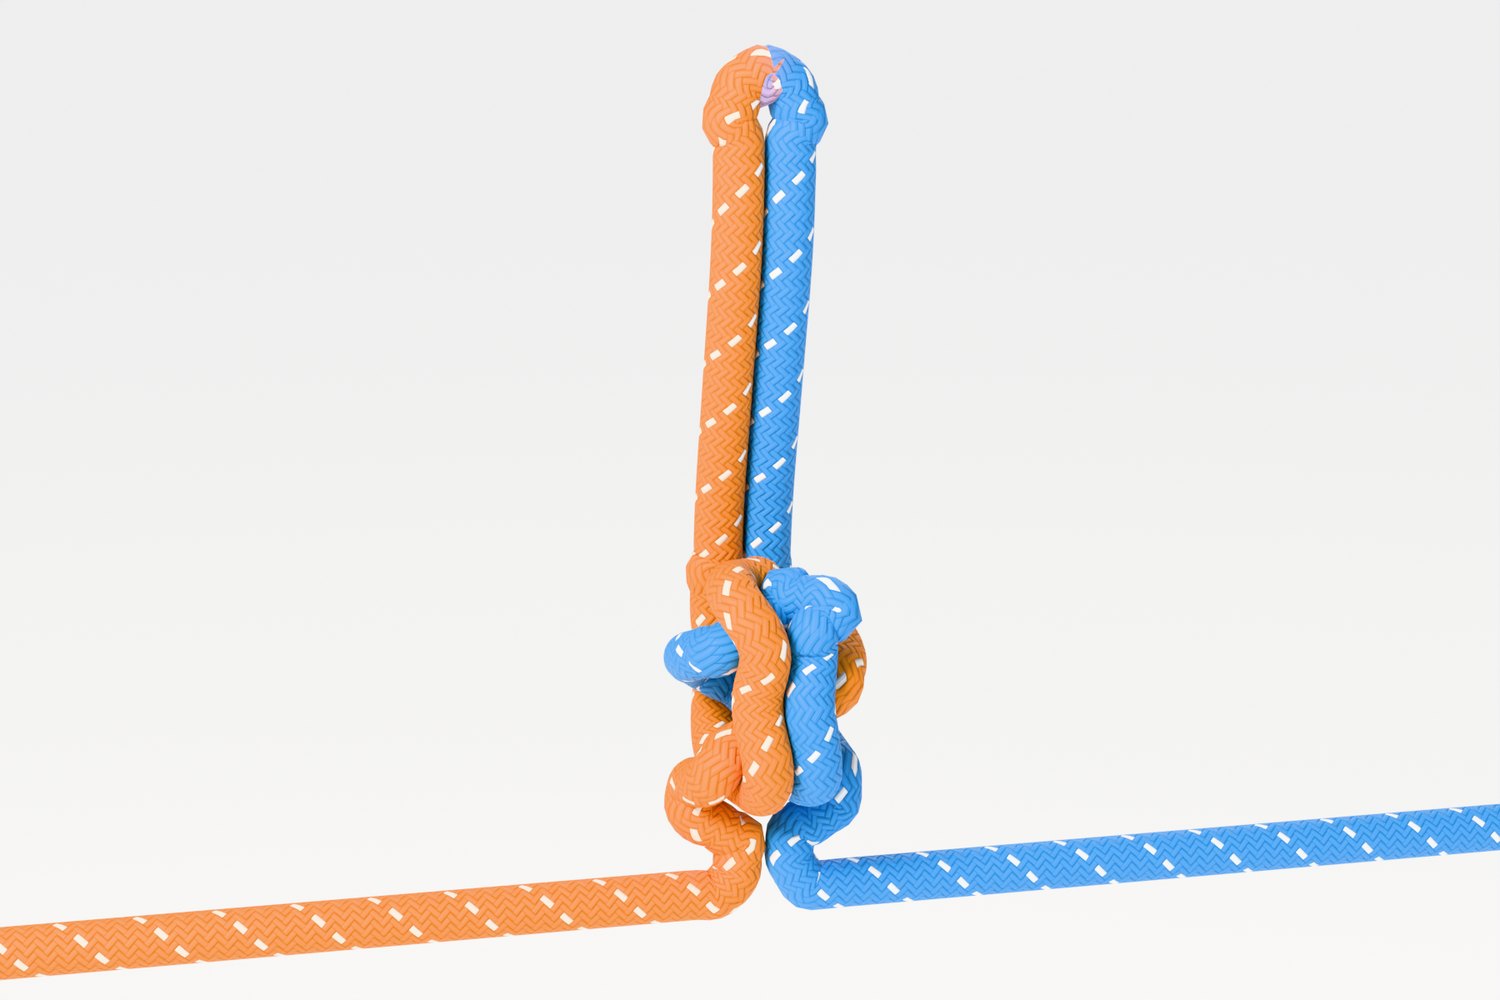
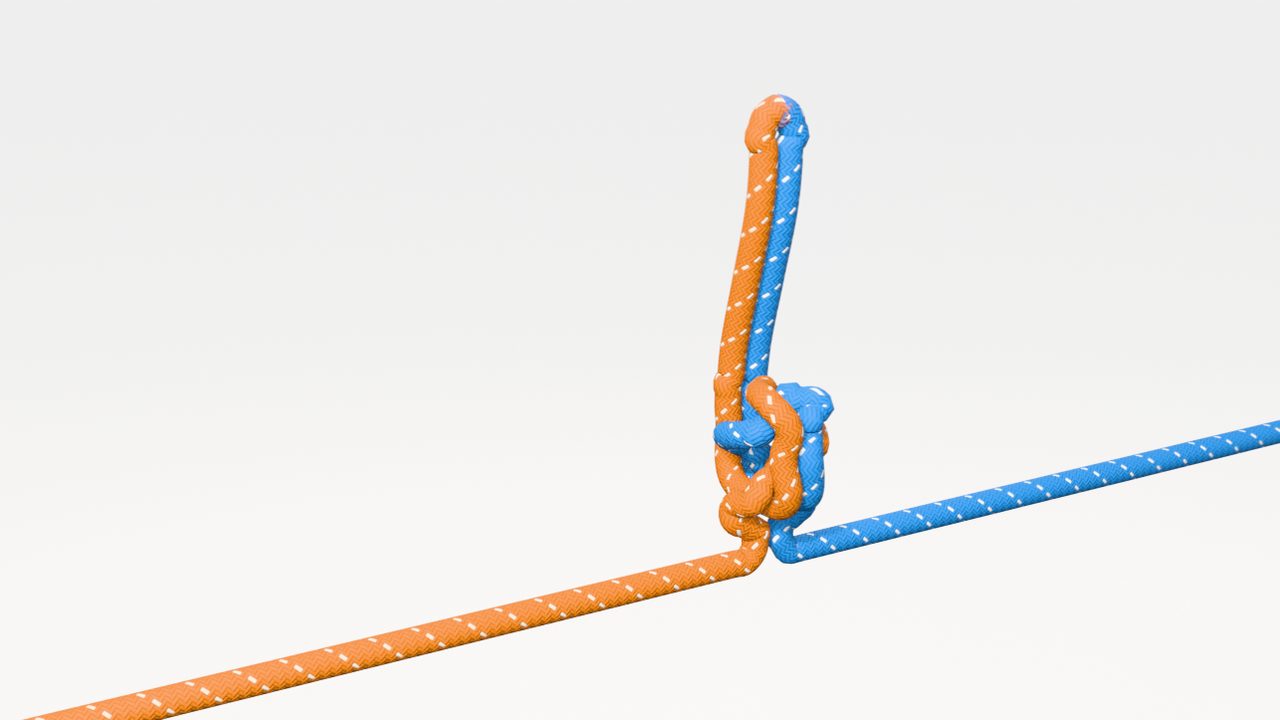
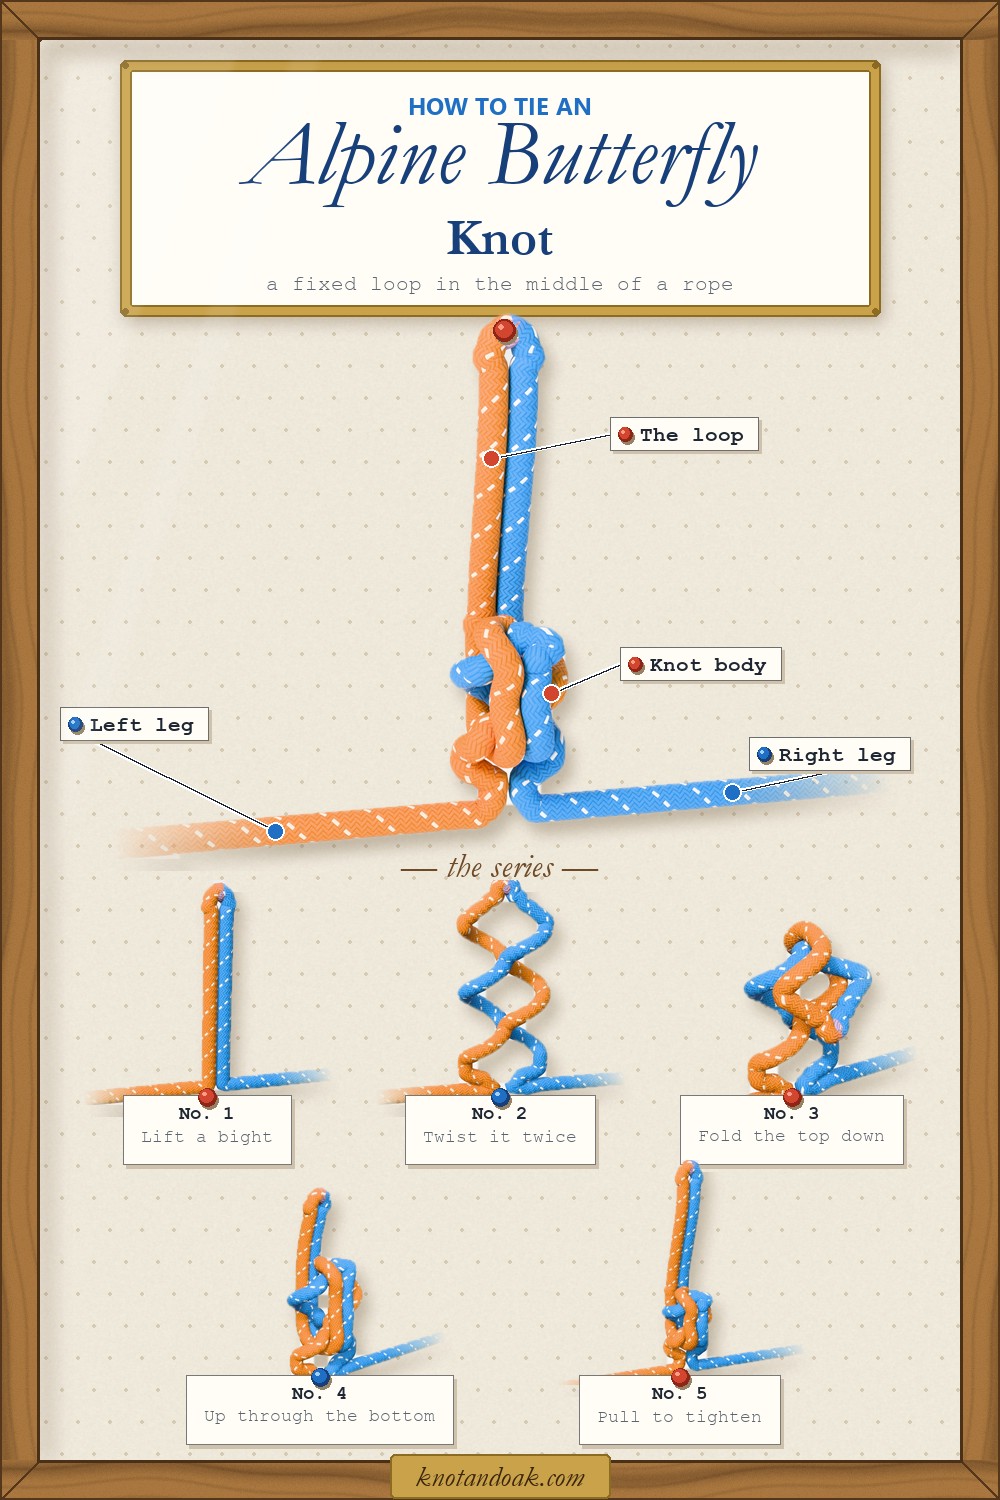
A fixed loop tied in the middle of a rope, with no ends needed. Lift a bight, twist it twice, fold the top down and push it up through the bottom, then pull it tight.
Lift, twist twice, fold down, through and up, pull tight. Watch the whole series once, then take it one specimen at a time.
Bight
Twists
Fold
Through
Set
The stage lights up as the clip reaches it
Tray 01Before you start
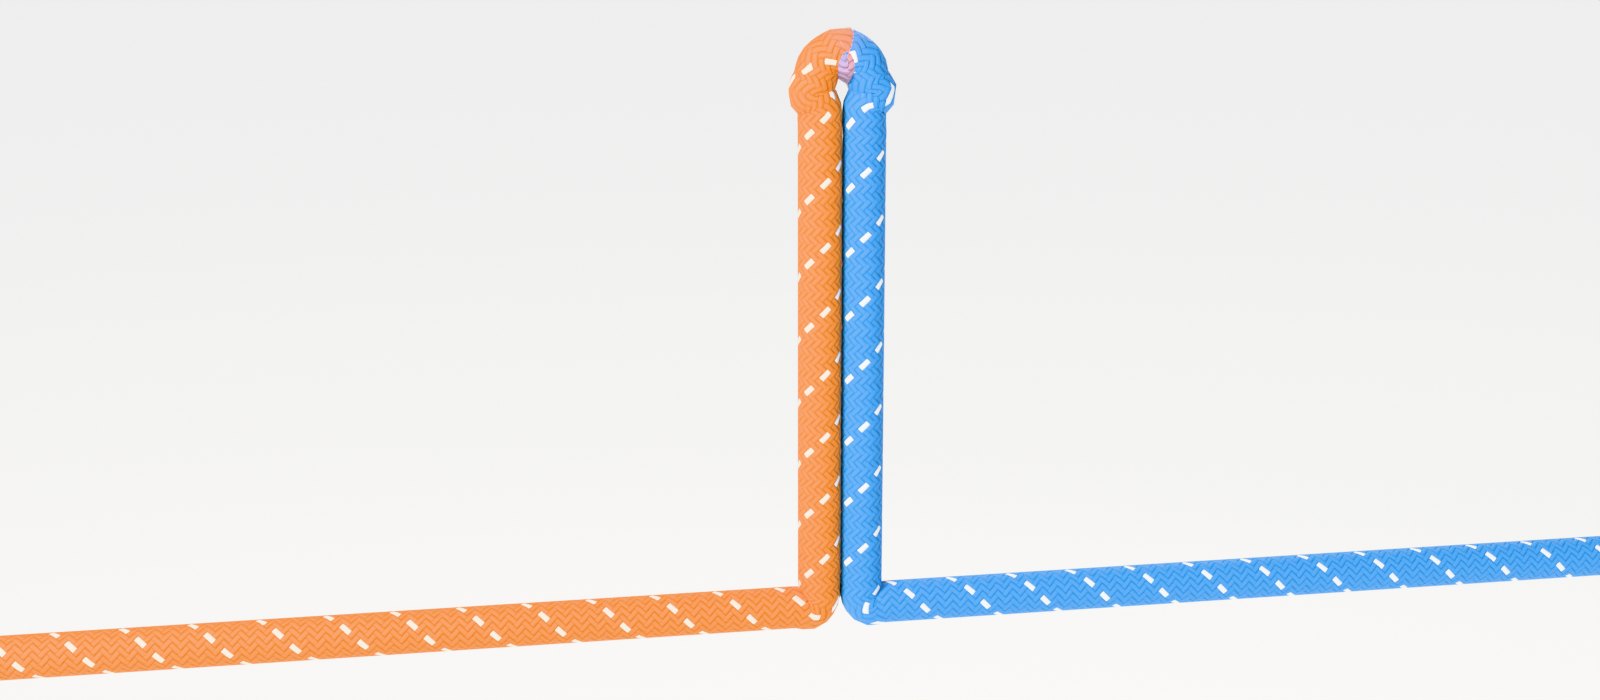
A bight, and two legs
The bightLeft legRight leg
Fig. 2 · everything happens in the bight; the legs only lead in and out
No ends needed
Tie it anywhere along a line, even when both ends are tied off or out of reach.
Loads three ways
The loop and either leg can each take the pull, so it works as a loop and as part of the line.
Size the loop as you go
The bight you lift sets the loop, and you can draw more through in step 4. A hand’s width suits a carabiner.
Tray 02The series · each clip loops
Five steps to an alpine butterfly
1Specimen 1 of 5 · 6 s clip
Lift a bight
Pick up a bight from the middle of the line and lift it straight up, the two legs running out to either side.
Collector’s noteNo ends needed. This works anywhere along the line, even with both ends tied off.
2Specimen 2 of 5 · 8 s clip
Twist it twice
Twist the bight twice, both times the same way: two crossings stacked one above the other, and three openings, a small one between the legs, one in the middle and the top.
Collector’s noteTwisting the same way both times lines the openings up one above the other.
3Specimen 3 of 5 · 7 s clip
Fold the top down
Fold the top opening down in front of the twists, hinging it at the upper crossing.
Collector’s noteKeep it in front. It goes back through from the front in the next step.
4Specimen 4 of 5 · 9 s clip
Up through the bottom
Push the folded top back through the lowest opening, between the legs, and draw it up behind the twists. This becomes the loop.
Collector’s noteDraw it through as far as you want the loop to be: a hand’s width is plenty for a carabiner.
5Specimen 5 of 5 · 8 s clip
Pull to tighten
Hold the loop and pull the two legs apart, then pull the loop up, until the twists close into a compact, symmetric knot.
Collector’s noteSnug each of the three parts in turn, so the body sets evenly with no slack turns.
Tray 03Key to identification
A fixed loop, both legs free to load
Tray 04Field plates
Another way to tie it, and why it holds
Plate I
The hand-wrap method
Wrap the rope three times round your palm, the turns lying side by side.
Take the turn nearest your fingertips and carry it back over the other two, towards your wrist.
Tuck it under both turns and draw it out past your fingertips: that is the loop.
Slip it off your hand and pull the loop and legs to set it.
Quick once learned, and handy with gloves on. Practise it beside the twist method: the knot that comes off your hand should look just like the one in step 5.
Plate II
Isolating a damaged section
Found a cut sheath or a core shot partway along a rope? Tie a butterfly so the damaged length sits inside the loop.
The pull now runs leg to leg through the knot body and the loop carries nothing, so the line stays usable until it can be replaced. Clip nothing to that loop.
Plate III
Loop load and ring load
A loop load pulls the loop against one leg or both: the loop is fixed, so it neither shrinks nor slips.
A ring load pulls the two legs apart, along the line. The butterfly’s symmetric body locks against itself and keeps its shape. End-of-line loops such as the bowline aren’t made for this, and can capsize.
Tray 05Under the loupe
Turn it over in your hand
Drag to turn the knot, pinch in on the body, scrub back to any step, or glow the loop to follow the stretch of rope that becomes it through every move.
● Live specimen · AB-1drag · pinch · scrub
·Drag to turn · pinch to zoom
0:00
Tray 06Habitat
Common uses
Habitat 1
Middle of a climbing rope
Tie in the middle climber of a three-person rope team, or on a glacier, clipped to the harness with a locking carabiner.
Habitat 2
Mid-line attachment point
A strong clip-in point anywhere along a line, for gear, a sack or a person, without touching the ends.
Habitat 3
Fixed loop for hauling
A loop in the haul line to clip a pulley, a rope grab or the load to, in a simple hauling system.
Habitat 4
Loops along a tensioned line
Several butterflies along a ridgeline or a fixed line give evenly spaced points to hang gear or clip in to.
Tray 07Take a card
Keep the specimen card
All five steps on one card. Pin it, or keep it with your rope bag for the next time you need a loop in the middle of a line.