


Sheet A · overview
The whole job at 4×
Fourteen seconds from the first pencil line to the clamps. The station strip lights each step as it plays; tap a number to jump there.
- ST 1Mark the slope
- ST 2Saw the slope
- ST 3Plane it flat
- ST 4Repeat on board two
- ST 5Test the fit
- ST 6Glue and clamp
Sheet B · before you start
Before you start
Two boards of the same section, square and straight, with their ends cut square. Everything else is on this sheet.
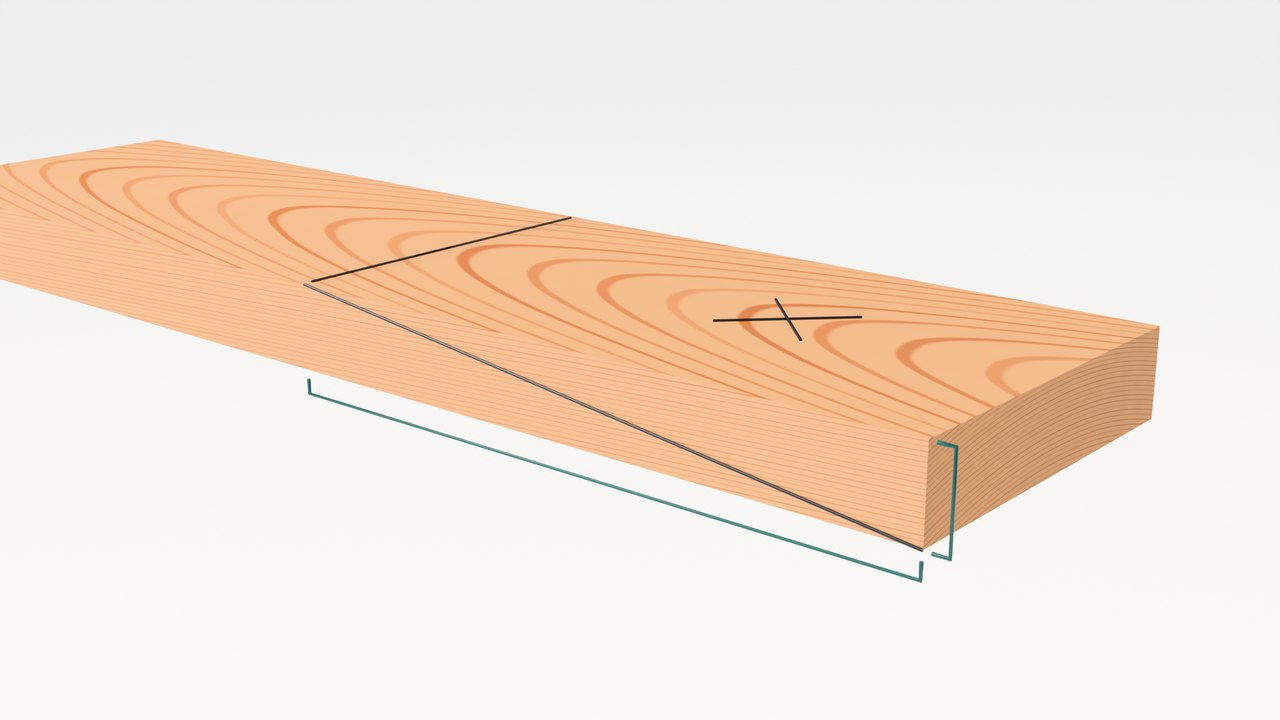 Waste
Thickness t
Slope 8 × t
Waste
Thickness t
Slope 8 × t
Slope = 8 × t
Measure the board’s thickness, t, and mark eight times that back from the end: 160 mm on a 20 mm board. The slope runs from that line on the face down to the bottom corner of the end, and everything above it is waste.
Mark both boards from their best face, with the same rule and the same square, and the two slopes will match.
A longer slope is stronger still: boatbuilders use 1 in 10 or 1 in 12 for planking and spars. Work out any board below.
- Steel rulemeasures 8 × the thickness
- Try squaresquares the face line
- Pencilface line, diagonals, waste X
- Rip or panel sawcuts the long slope
- Hand planeplanes it flat to the line
- Wood glueon both slopes
- Two clampsF-clamps or bar clamps
- Two caulsstraight battens, waxed
Sheet C · six stations
Cut it, station by station
Each clip loops. Tap a clip to pause it, or slow it to half speed.
-
Station 1 · Mark the slope Step 1: Mark the slope
Measure 8 × the thickness back from the end (160 mm on a 20 mm board) and square a pencil line across the face with a try square. Against a rule, draw the diagonal on both edges, from that line down to the bottom corner of the end. X the wedge above it: that is the waste.
Loft noteBoth edges get a line: you saw to one and watch the other, so the cut stays square across the width.
-
Station 2 · Saw the slope Step 2: Saw the slope
Stand the board on its edge in the vise and saw down the diagonal with a rip or panel saw, on the waste side of the line. Keep an eye on both edge lines, and let the long, shallow wedge of waste fall away.
Loft noteLeave the pencil line showing. The plane takes you the last fraction of a millimetre down to it.
-
Station 3 · Plane it flat Step 3: Plane it flat
Lay the board face up with the slope on top and fix it to the bench. Plane down to the lines on both edges in long strokes along the slope, until the surface is flat across the width and the thin end is a crisp feather edge.
Loft noteLay a straightedge across and along the slope: flat both ways means no rocking when the boards meet.
-
Station 4 · Repeat on board two Step 4: Repeat on board two
Mark, saw and plane the same 1 in 8 slope on the end of board two. Cut it exactly like board one, face up: turned end over end, its slope becomes the mirror that lies on board one’s.
Loft noteBetter still, stack the two boards and plane both slopes in one pass (see the loft notes below).
-
Station 5 · Test the fit Step 5: Test the fit
Turn board two end over end onto board one’s slope and slide it until the faces are flush and the edges line up. A straightedge along the face should show one straight board: no step, no rocking, no daylight in the seam.
Loft noteIf it rocks, mark the high spot with pencil, take a shaving off it and try again before any glue.
-
Station 6 · Glue and clamp Step 6: Glue and clamp
Spread glue on both slopes, press the boards together and line them up. Lay a caul above and below the joint and close two clamps across them. The cauls spread the pressure and stop the slippery slopes sliding apart.
Loft noteWax or tape the cauls so the squeeze-out doesn’t glue them to the board.
Sheet D · off the clamps
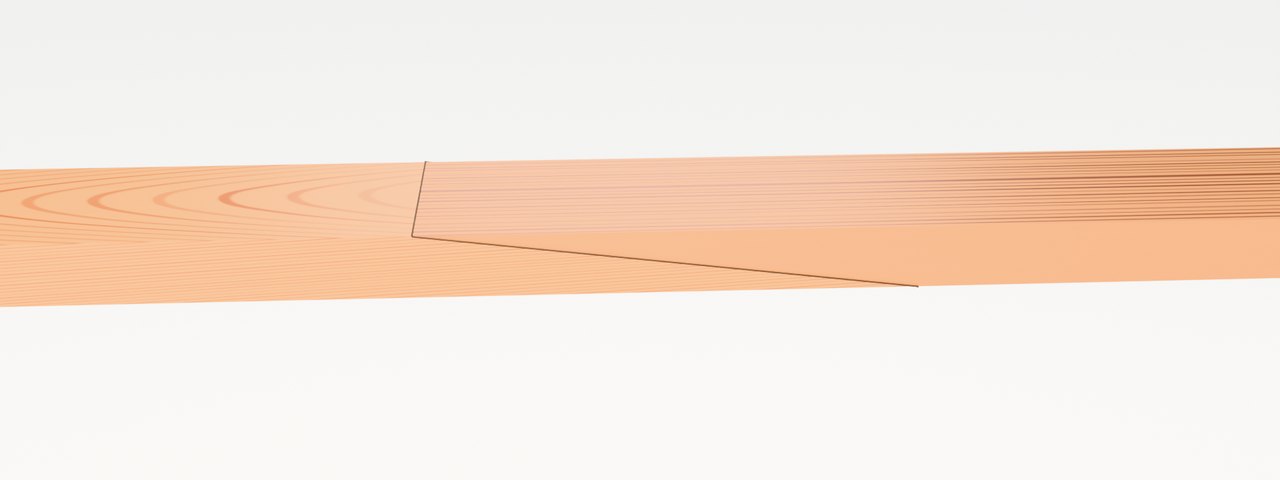
Faces flush, one long glue line
Leave the glue overnight. Take the clamps and cauls off, scrape the dried squeeze-out away and plane the faces lightly. Then check it.
Sheet E · loft notes
Slopes, scarfs and why they hold
Which slope?
| 1 : 8 | General joinery: lengthening boards, trim and furniture parts. | 8 × t |
|---|---|---|
| 1 : 10 | Boat planking, gunwales and rails that bend and flex. | 10 × t |
| 1 : 12 | Spars, masts and structural timbers that carry real load. | 12 × t |
The longer the slope, the more glue face and the gentler the change in stiffness, so it bends more like solid wood. Much steeper than 1 in 6 leaves too little glue to trust.
Why a long slope is strong
A butt joint glues end grain to end grain. End grain soaks up glue and holds almost nothing.
A 1 in 8 scarf turns the joint into a long, shallow ramp, so the glue meets mostly long grain, which glues as strongly as the wood itself, and the slope gives it about eight times the area of the plain end. Done well, the board breaks somewhere else.
Plane both slopes together
Stack the two boards face up, the top one stepped back by the slope’s length, so the two marked slopes line up into one ramp. Clamp them down and plane the whole ramp at once. Then turn the top board end over end: the slopes are identical, so they mate perfectly even if the angle is a hair off 1 in 8.
Boatbuilders stack a whole pile of planks this way and cut every scarf at once.
Keyed and hooked scarfs
Timber framers join beams and plates that must hold without glue. Their scarfs interlock: a hooked scarf has a step in the middle of the slope so the halves can’t pull apart, and a keyed (tabled) scarf has a slot where a pair of folding wedges is driven in to pull the joint tight. Pegs or bolts finish both.
Sheet F · in 3D
Turn the boards in 3D
Drag to turn, pinch or scroll to zoom and scrub to any station. X-ray shows the slope inside the finished board; hide the tools to see only the wood.
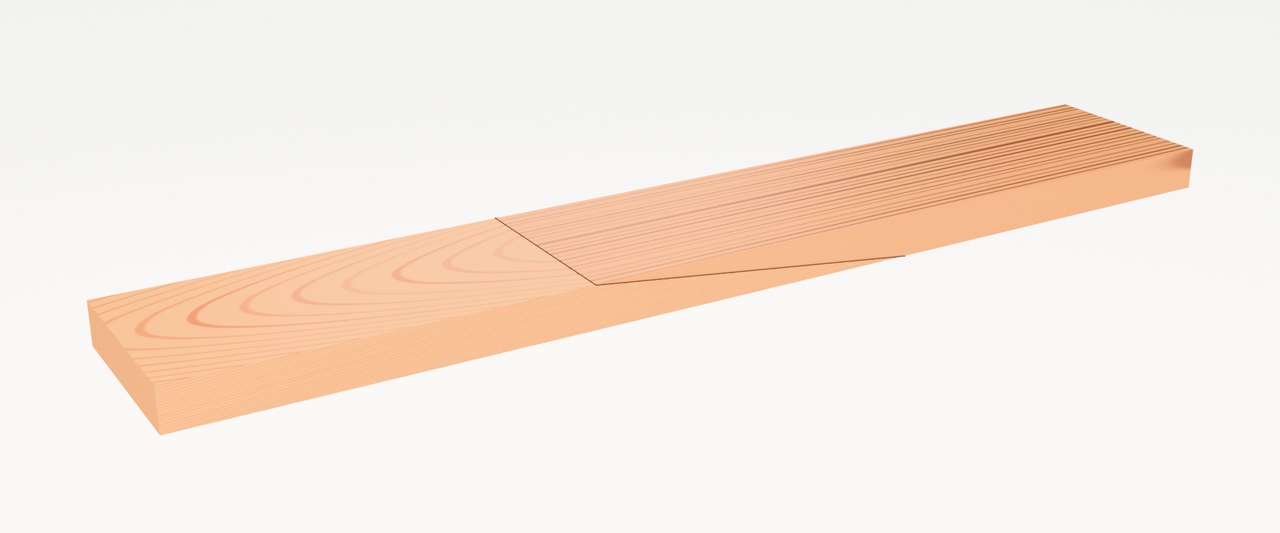
· Drag to turn · pinch to zoom
Sheet G · where it goes
Common uses
Lengthening boards and trim
Baseboards, crown and long shelf edges: two lengths scarfed into one, with a seam that hardly shows.
Boat spars and gunwales
Masts, booms, gunwales and planking longer than any board you can buy, at 1 in 10 or 1 in 12.
Mending a broken rail
Cut out the broken part and scarf in a new piece: a handrail, a fence rail or a chair stretcher.
Long frames and moldings
Long frame members and runs of molding where one piece would be too short or too wasteful.
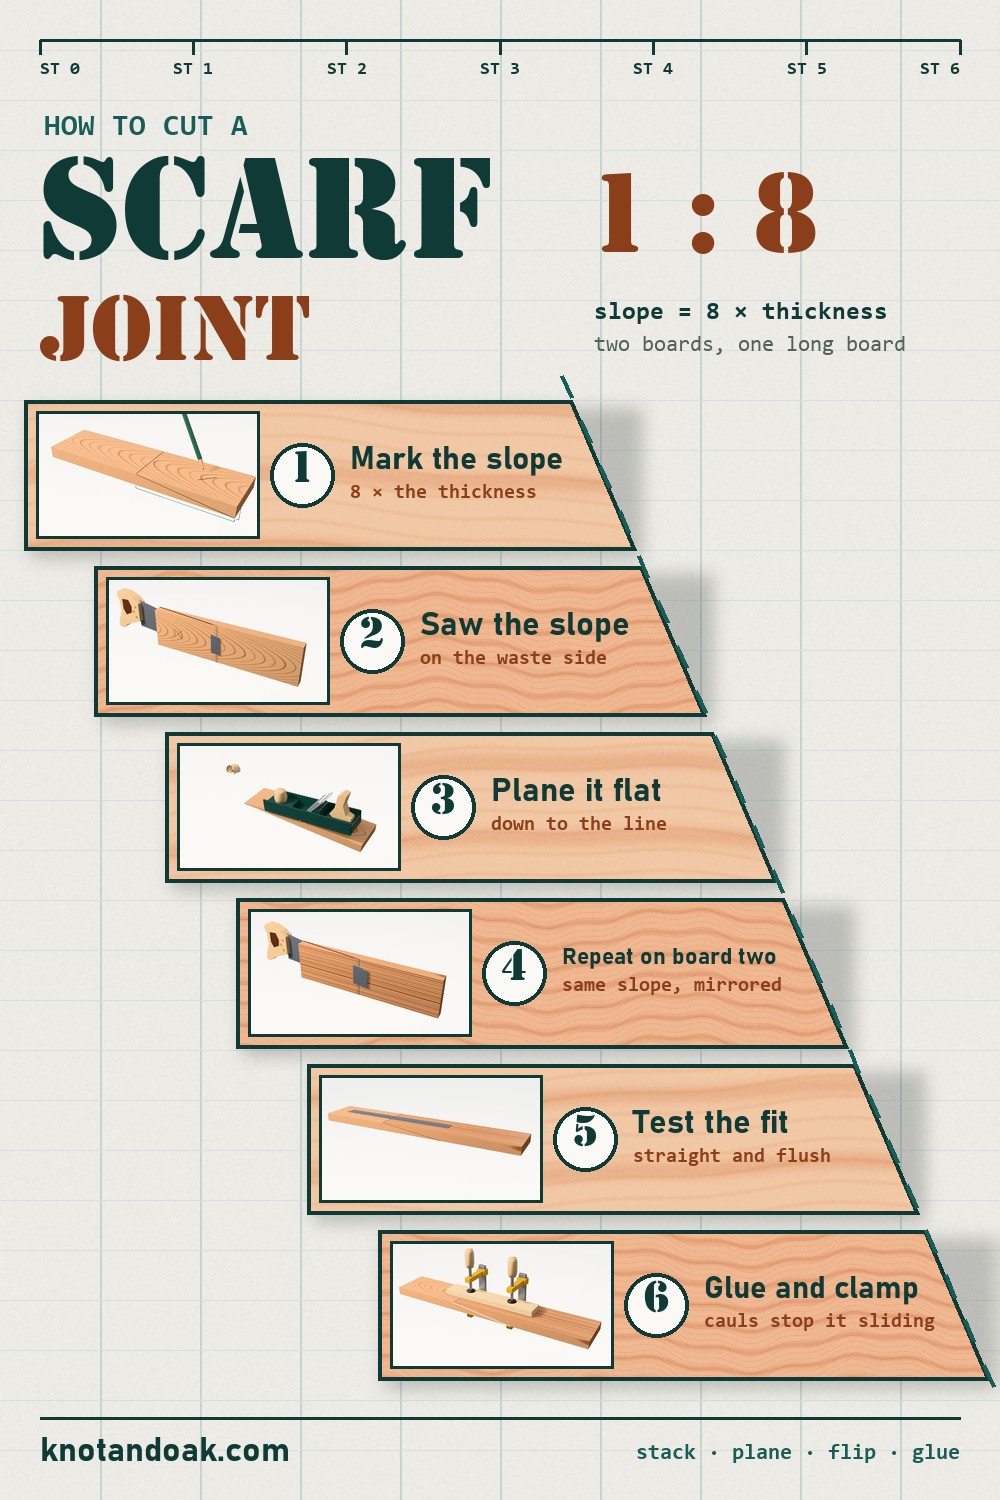
Keep this sheet
Six stations on one card
Pin it, or print it for the shop wall next time a board comes up short.