


The Rabbet Joint How to cut a rabbet (rebate) joint by hand, in six operations
A rabbet is a step cut along the end or the edge of a board. For a box corner the step is cut across the end of the side; the end of the front sits in it, and the two are glued and pinned through the thin lip that is left. It is the simplest strong corner there is, and it hides the front’s end grain.
- Time allowed
- About 45 minutes
- Grade
- A first exercise
- Joint
- Corner, glued and pinned
- Stock
- 16 mm boards
Plate I
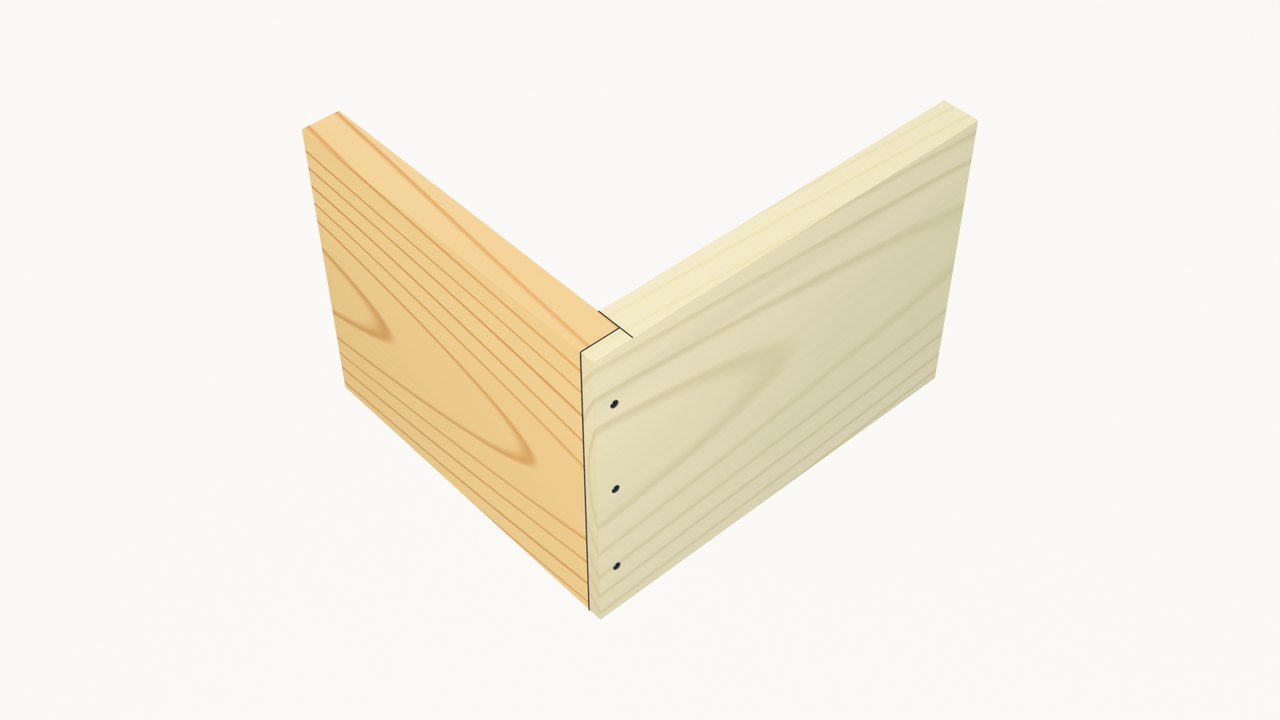 ASide (rabbeted)BFrontCLipDBradsEShoulder
The whole job at four times speed
Marking, sawing, paring, fitting, gluing and pinning, in twelve seconds.
Before you start
Two boards, seven tools and two settings of the gauge.
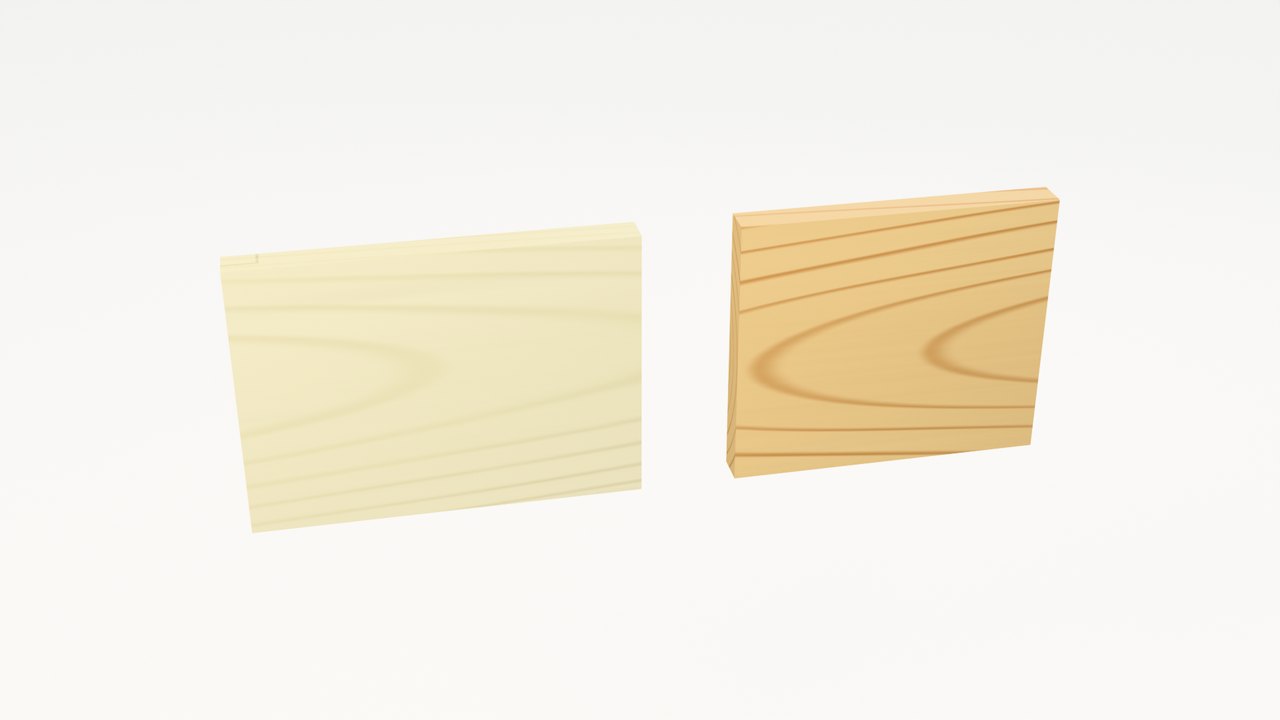 ASideBFront
| Part | Wood | Size |
|---|---|---|
| A, side | Poplar | 16 × 130 × 180 mm, gets the rabbet |
| B, front | Clear pine | 16 × 130 × 150 mm, cut square |
Tools required
- Marking gauge
for the width and the depth - Marking knife
for the shoulder line - Try square
to guide the knife - Backsaw
for the shoulder and the cheek - Bench chisel
25 mm, to pare to the lines - Pin hammer and brads
three 25 mm brads - Wood glue
on the cheek and the shoulder
The two settings. The rabbet’s width equals the front’s thickness: set the gauge from the front itself. Its depth is about half to two thirds of the side’s thickness; the rest is the lip, which covers the front’s end grain and takes the brads.
- w
- width = the front’s thickness (16 mm)
- d
- depth = ½ to ⅔ of t (10 mm)
- t
- the side’s thickness (16 mm)
- lip
- what is left: t − d (6 mm)
The exercise: six operations
Each figure loops; tap it to pause, or slow it to half speed.
-
Step 1: Mark the rabbet.
Tools: Marking gauge, marking knife, try square, pencilFig. 5. — Mark the rabbet. Set the marking gauge to the front’s thickness, straight off the board, and gauge the width across the side’s inside face and down both edges. Reset it to about two thirds of the side’s thickness and gauge the depth along the end grain and both edges. Deepen the shoulder line with a knife against a try square, and mark the waste with an X.
-
Step 2: Saw the shoulder.
Tools: BacksawFig. 6. — Saw the shoulder. Lay the side face up and saw across the grain on the waste side of the knife line, keeping the saw upright, until the kerf reaches the depth line on both edges.
-
Step 3: Saw the cheek.
Tools: BacksawFig. 7. — Saw the cheek. Stand the side on its end and rip down the depth line, on the waste side, until the cut meets the shoulder kerf. The waste strip falls away by itself.
-
Step 4: Clean to the line.
Tools: Bench chisel (25 mm)Fig. 8. — Clean to the line. With the chisel bevel up, pare the sawn cheek flat in light passes. Then stand the edge in the knife line and pare the shoulder straight down, until no saw marks are left.
-
Step 5: Test fit.
No tools: hands onlyFig. 9. — Test fit. Drop the front into the step. It should seat on the cheek and against the shoulder, with its outside face flush with the end of the side.
-
Step 6: Glue and pin.
Tools: Wood glue, pin hammer, three bradsFig. 10. — Glue and pin. Spread glue on the cheek and the shoulder, set the front home, then drive three brads through the lip into the front’s end grain.
Examination of the work
Mark your own corner before the glue sets.
Further study
The same step, cut along an edge, by other tools, and set beside the butt joint.
(a) The edge rabbet for cabinet backs
Cut along the back edge of each side instead of across the end, a rabbet takes the cabinet’s back panel. Make it as wide as the back is thick (here 6 mm plywood) and deep enough to leave a sturdy lip (here 9 mm deep in a 16 mm side). The back drops in flush, its edges are hidden from the sides, and pinning or screwing it into the rabbets pulls the whole case square.
(b) Other ways to cut a rabbet
| Tool | How |
|---|---|
| Rabbet or shoulder plane | A rabbet plane with its fence and depth stop cuts long edge rabbets in a few strokes; a shoulder plane trims the cheek and shoulder of a sawn one dead true. |
| Router | A bearing-guided rabbeting bit follows the edge, or a straight bit runs against a fence. Take it to depth in two or three passes. |
| Table saw | Two cuts at right angles, one on the face and one with the board on edge, or a single pass with a dado stack buried in a sacrificial fence. |
(c) Rabbet or butt joint?
| Butt joint | Rabbet joint | |
|---|---|---|
| Glue area | End grain against a face: little real glue strength. | Two glue faces, the cheek and the shoulder, with long grain on the cheek. |
| End grain | The full end of one board shows on the outside. | The lip hides the front’s end grain on one face. |
| Assembly | The parts slide about while you glue and nail. | The step locates the front; it holds square while you pin it. |
The model for study
Turn the corner over, scrub through the six operations, hide the tools, and look through the lip with the X-ray.
· Drag to turn · pinch to zoom
Common uses
Wherever a step can locate one part and hide an edge.
Box and drawer corners
The quick, tidy corner for boxes, crates, carcases and the backs of drawers.
Cabinet backs
A rabbet along the back edge of each side takes the back panel, flush and hidden.
Picture-frame rebates
The rabbet behind the moulding holds the glass, the mount and the backing board.
Door panels and lids
A rabbet round a panel or a lid lets it sit flush or drop in and stay put.
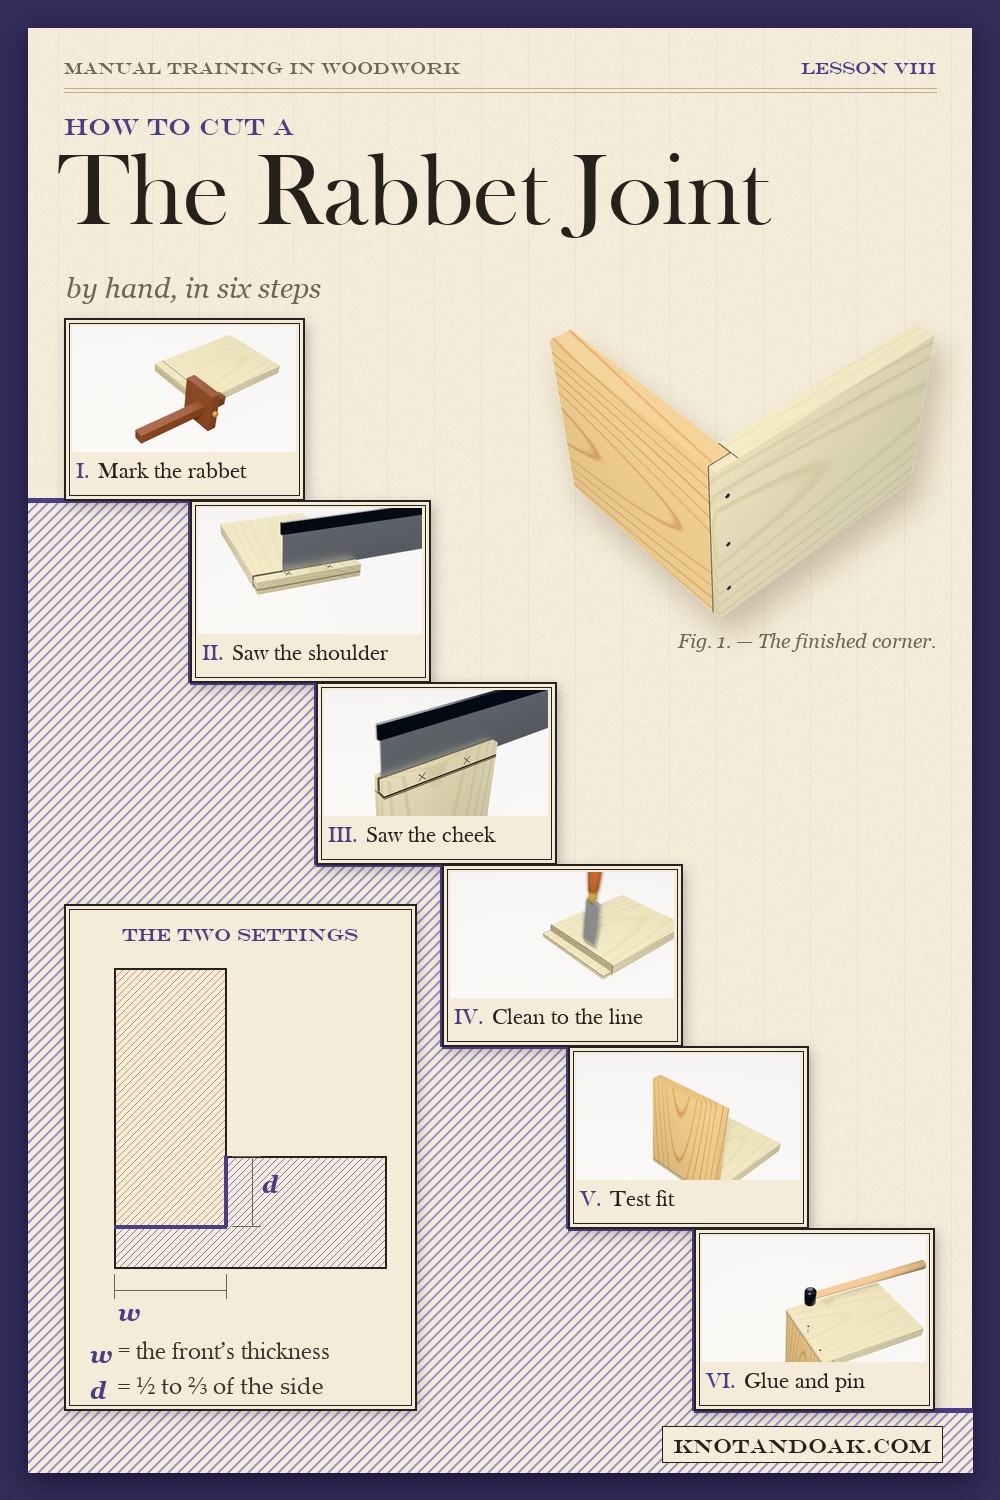
All six operations on one plate
Pin the plate, or print it and keep it above the bench for your next box.