


How to cut aDovetail
Joint
The classic hand-cut corner: interlocking tails and pins that can’t pull apart, with no screws or nails.
- slope 1:6
- stock 19 mm
- tails 3
- steps 7
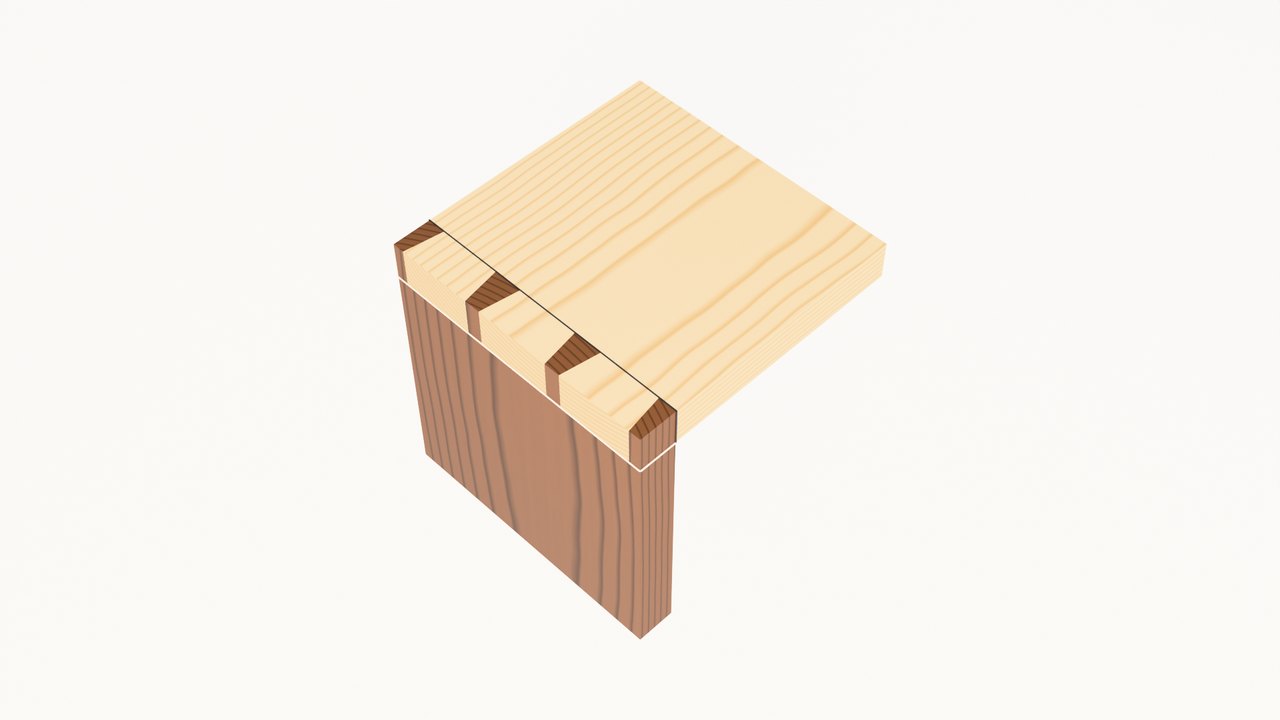 Tails
Pins
Tail board
Pin board
Tails
Pins
Tail board
Pin board
Watch it once, then cut along
Mark, saw and chop the tails. Trace them onto the pin board, cut the pins, then glue and tap it home.
Cut the tails first, and mark the pins from them.
Turn the joint in your hands
Drag to turn it, pinch or scroll to zoom, scrub to any cut. X-ray shows the tails hidden inside the pins.
· Drag to turn · pinch to zoom
Two boards, one baseline
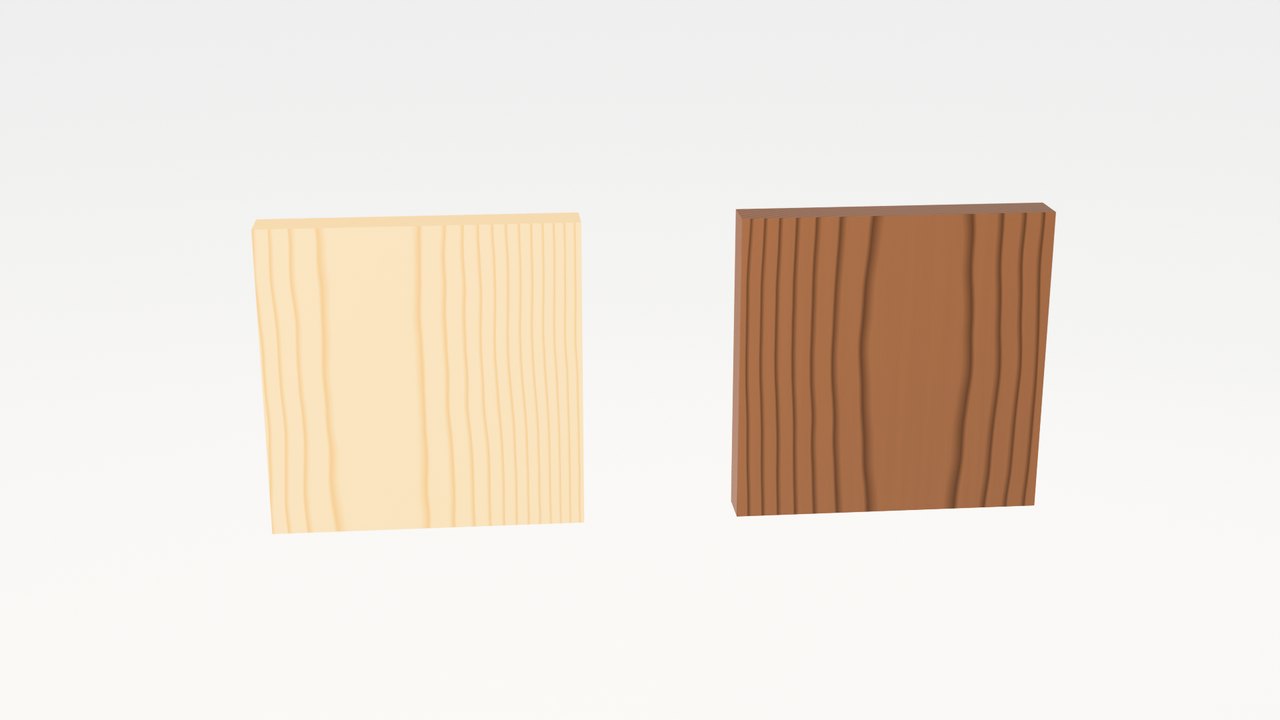 Tail board
Pin board
Tail board
Pin board
| Part | What it is |
|---|---|
| Tails | The fan-shaped pieces cut on the end of the tail board. |
| Pins | The narrow pieces on the pin board that fit between the tails. |
| Baseline | A line one board-thickness from the end. Every cut stops here. |
- marking gauge
- dovetail marker
- pencil & square
- dovetail saw
- chisel & mallet
- marking knife
- wood glue
Cut it, line by line
-
Mark the baseline
gauge = 19 mmSet a marking gauge to the thickness of the boards and scribe a line all round the end of both boards.
Pencil noteThis baseline is where every cut stops. Mark both faces and both edges. -
Lay out the tails
slope 1:6Mark the tails with a 1:6 dovetail marker, square the lines across the end grain, and mark the waste with an X.
Pencil noteMark both faces. Use 1:8 for very hard woods. -
Saw the tails
6 cutsSaw down each line to the baseline, keeping the saw on the waste side so the pencil line stays on the tail.
Pencil noteKeep the saw square across the end grain and stop exactly at the baseline. -
Chop out the waste
halfway from each faceCrosscut the half-pin waste at each edge, then chop out the sockets with a chisel and mallet down to the baseline.
Pencil noteChop halfway from each face so the far side doesn’t split out. -
Transfer the tails
knife, not pencilLay the tail board on the end of the pin board, flush with its outside face, and knife round the tails. Square the lines down to the baseline and mark the waste.
Pencil noteKeep both boards still while you trace. This is what makes the joint fit. -
Cut the pins
leave the lineSaw on the waste side of each line down to the baseline, then chop out the waste between the pins.
Pencil noteLeave the line: saw just beside it, never on it. -
Glue and tap home
scrap block under the malletBrush glue on the joint, line the tails up over the pins and tap it home with a mallet until it is fully seated.
Pencil noteUse a scrap block under the mallet and check the corner is square.
Test the fit
1:6 or 1:8?
The tails flare by a ratio: across 1, along 6. A steeper 1:6 grips softwoods and most furniture timber; a gentler 1:8 suits hard, dense woods that might split at a sharp tail.
Where dovetails go
Use it wherever a corner gets pulled apart in one direction: the tails lock against the pins, and the long-grain glue surfaces make it last.
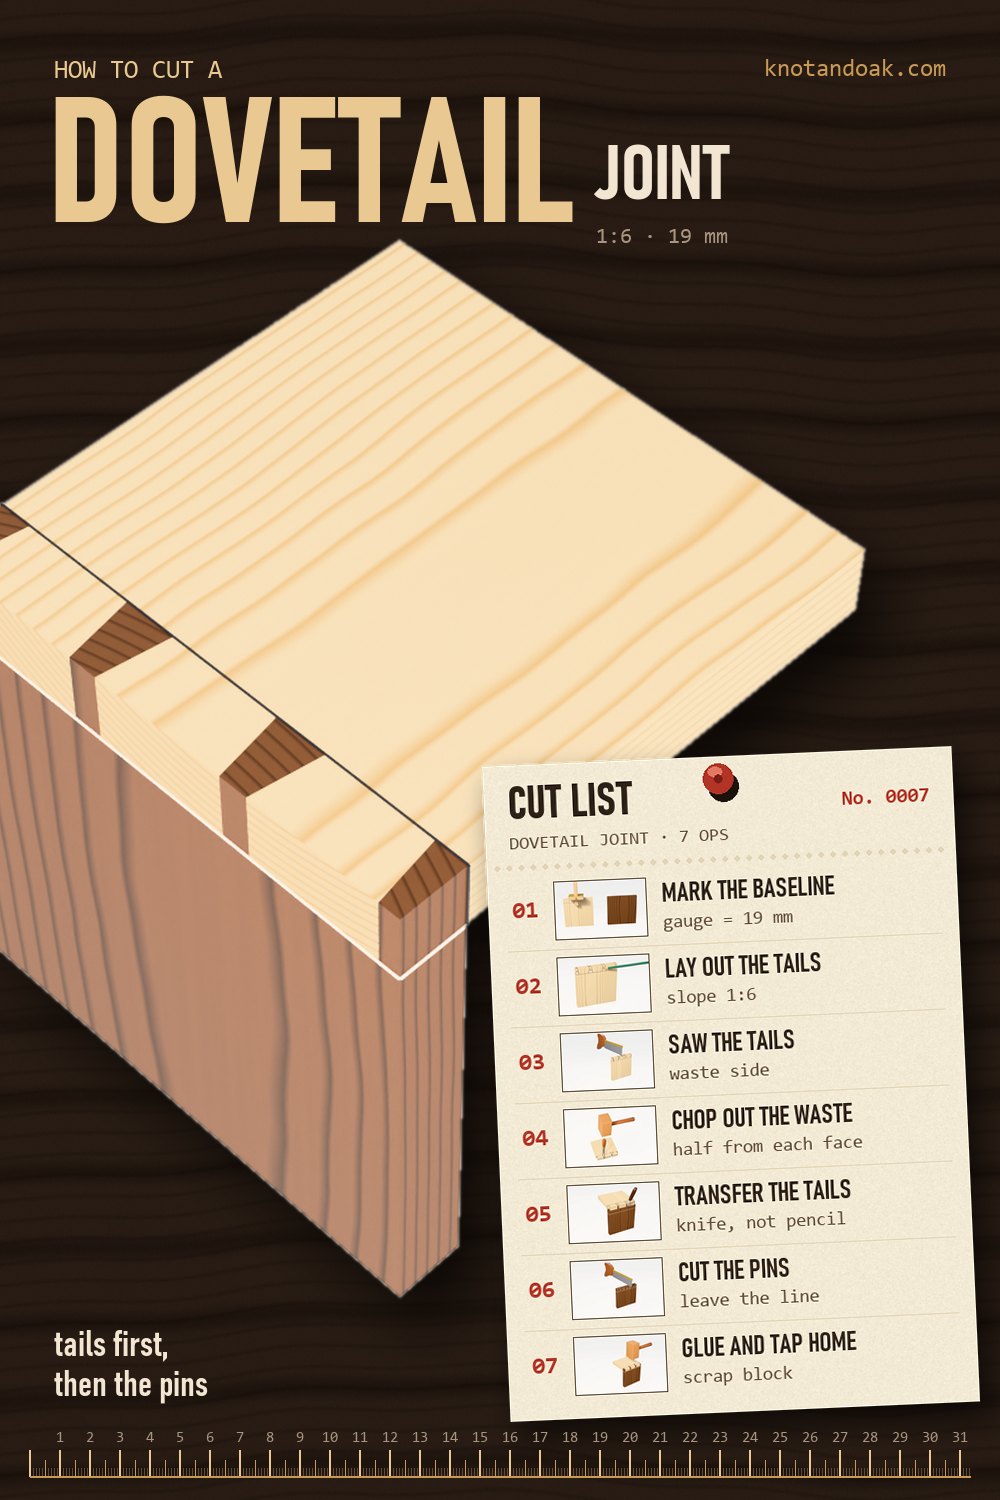
All seven steps on one card
Pin it, or keep it by the bench for the next set of dovetails.