


How to cut a
Dado Joint
A dado is a flat-bottomed groove cut across a panel’s grain, and the end of a shelf sits in it. It is the housed joint every solid bookcase is built on, and you can cut it with six hand tools.
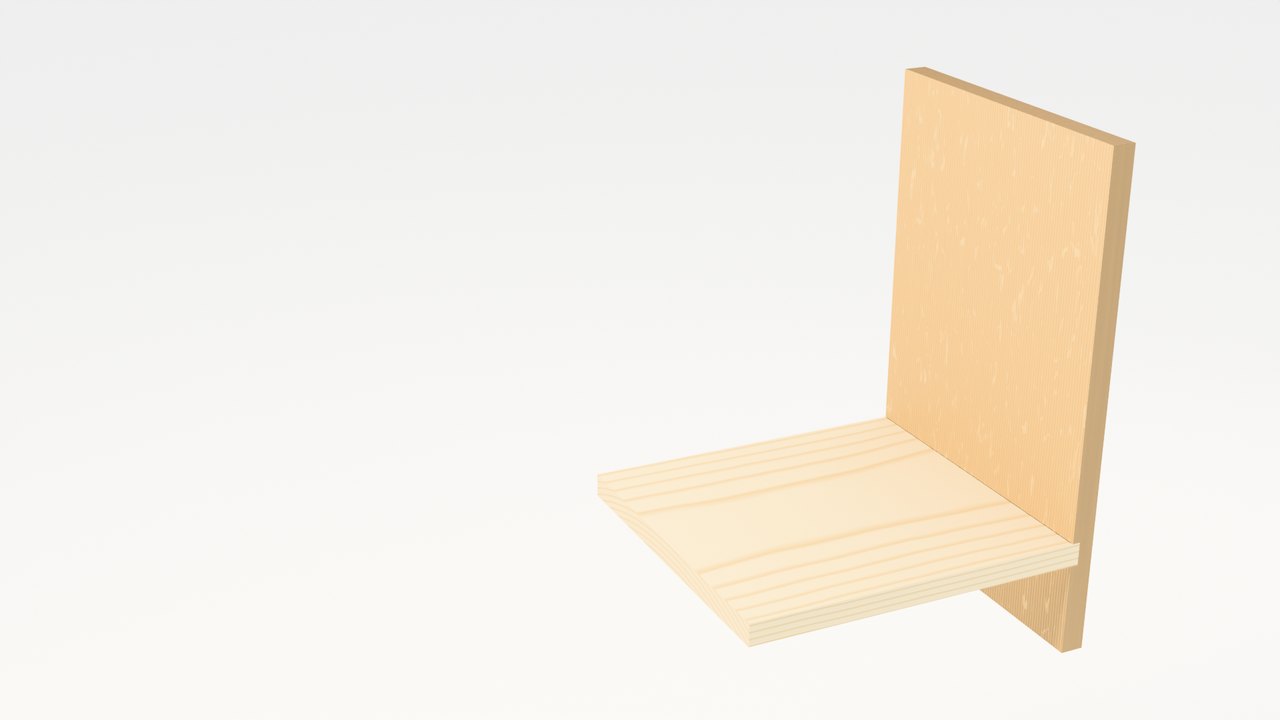 Side panel
Shelf
Dado
Side panel
Shelf
Dado
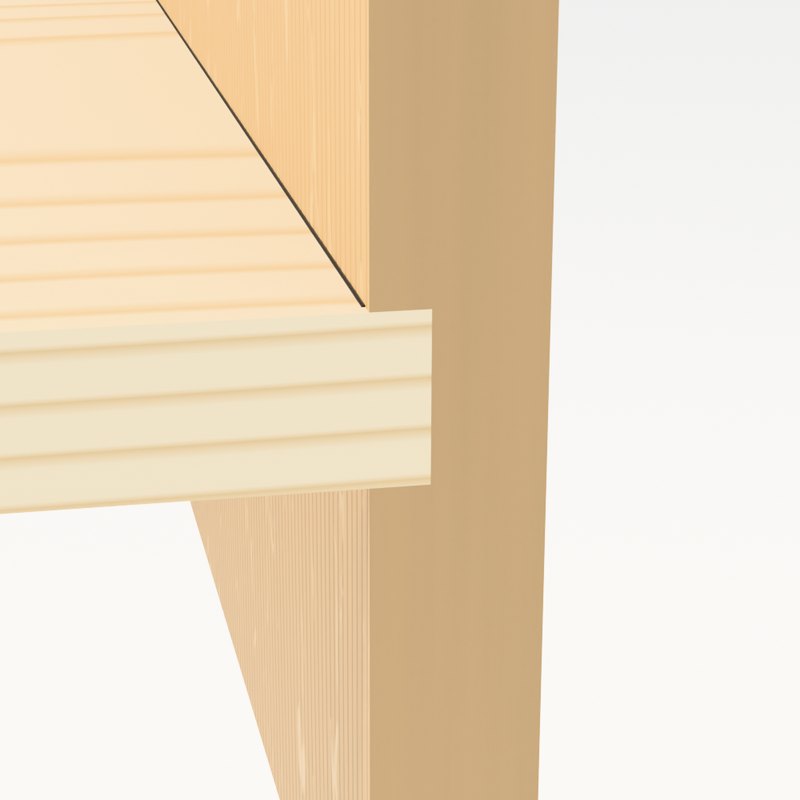 WallWall⅓ deep
In the circle: the panel’s front edge. The shelf’s end goes a third of the way into the panel, held between the dado’s two walls.
B · before you start
Parts and tools
Check you have everything on this sheet before you mark a line.
 Side panel
Shelf
Side panel
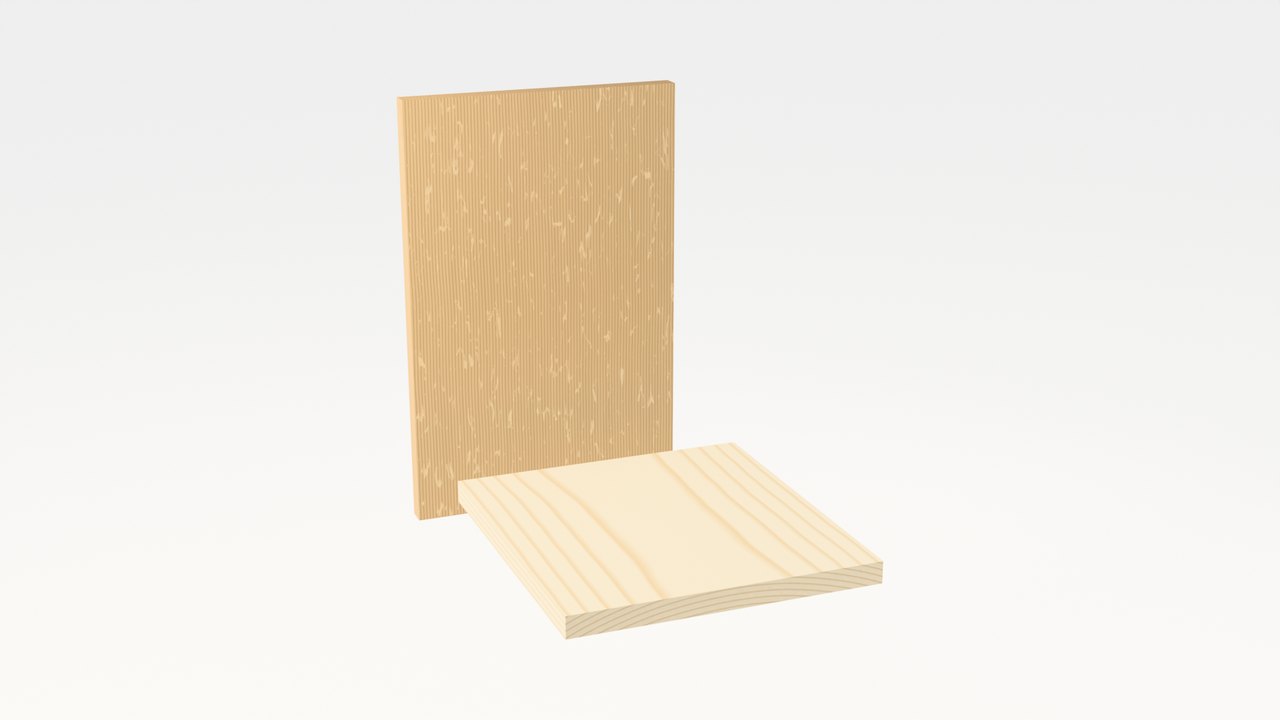
Shelf- ASide panelQuartersawn white oak, 19 mm thick. The dado goes across its inner face.×1
- BShelfBirch, 19 mm thick, the same depth as the panel is wide.×1
- ×1Try squaresquares the first wall
- ×1Marking knifecuts crisp wall lines
- ×1Marking gaugescribes the depth
- ×1Backsawsaws the two walls
- ×1Chisel & malletchop out the waste
- ×1Router planelevels the floor
Also: a pencil, wood glue and a couple of clamps.
The two sizes
Width = the shelf itself
Don’t measure the width: stand the shelf on your first knife line and mark along its other face. Shelves are rarely exactly their nominal thickness, so marking from the real board gives a snug fit first time.
Depth ≈ ⅓ of the panel
Deep enough to hold the shelf, while leaving two-thirds of the panel to keep it strong. In a 19 mm panel that is about 6.5 mm.
C · assembly
Six steps
Each clip loops. Tap it to pause, or play it at half speed. The pictograms show the tools each step needs.
-
Step 1: Mark the dado
Step 1 of 6 Knife the first wall across the panel against a try square. Stand the shelf on that line and knife along its other face: the shelf itself sets the width. Carry both lines down the edges, then set a marking gauge to a third of the panel’s thickness and scribe the depth between them.
iNote: Pencil an X on the waste between the lines, so every cut lands on the right side.
-
Step 2: Saw the walls
Step 2 of 6 Saw down both walls on the waste side of the knife lines with a backsaw, keeping it level, and stop at the depth line on both edges.
iNote: Pare a small V-notch on the waste side of each knife line first; it gives the saw a clean start.
-
Step 3: Chop out the waste
Step 3 of 6 Hold the chisel bevel up and drive the waste out between the saw cuts with a mallet, in chunks: from one edge to the middle, then from the other edge. Stop just above the depth line.
iNote: Working in from both edges keeps the far edge from breaking out.
-
Step 4: Level the bottom
Step 4 of 6 Pare the floor flat with a router plane. Take light passes from both edges and lower the cutter a little each time, until it rides right at the depth line.
iNote: The floor sets how the shelf sits: check it is the same depth at both edges.
-
Step 5: Test the fit
by hand, no toolsStep 5 of 6 Slide the shelf in from the edge. It should go in with hand pressure: snug, with no rocking and no gaps at the walls. Slide it out again for the glue.
iNote: If it is tight, plane a shaving off the shelf’s face rather than widening the dado.
-
Step 6: Glue and slide home
Step 6 of 6 Run a thin bead of glue along the dado, slide the shelf home and seat it with two light mallet taps, flush with the panel’s front edge.
iNote: Clamp across the case and check the shelf is square to the panel while the glue is wet.
D · before the glue sets
Final check
Tick each one off while you can still move the shelf.
E · other models
Through, stopped and groove
The same three cuts make a family of housings. A through dado (the one above) runs from edge to edge. Housing is the British word for the same joint, and a housed joint is any one where a whole board end sits in a recess like this.
AThrough dado
Runs right across, so the groove shows at the front edge. The quickest to cut, and fine wherever a face frame or edging will hide it.
BStopped dado
Stops about 20 mm short of the front edge, and the shelf’s front corner is notched to match. The front shows a clean, unbroken edge.
CGroove
The same cut run along the grain instead of across it. It holds drawer bottoms and the panels in frame-and-panel doors.
Cutting a stopped dado
Mark it as usual, but stop the lines about 20 mm short of the front edge. Chop the stopped end out first, square and to depth, so there is a pocket for the saw’s toe; then saw the walls back from it, chop and level as before.
Notch the shelf’s front corner by the same 20 mm and the dado’s depth. It slides in from the back and hides the joint completely.
Why a dado makes a strong shelf
A shelf screwed or glued to a flat panel hangs on its fasteners. In a dado it bears on the housing itself: the dado’s lower wall is a solid ledge along the shelf’s whole depth, so the wood carries the load and the glue only keeps it in place.
The housing also locks the panel. With the shelf trapped between two walls, the side can’t bow in or out, and the case stays square.
With power tools
Router
A straight bit the shelf’s width (or a smaller bit in two passes), run against a straightedge clamped across the panel. Take it to depth in two or three passes.
Table saw
A stacked dado set, with the panel pushed across on the mitre gauge or a sled. Test in scrap and add shims until the shelf slides in snug.
F · in your hands
Turn the joint in 3D
Drag to turn, pinch or scroll to zoom and scrub to any step. X-ray shows the shelf sitting in its housing; hide the tools to see only the wood.
· Drag to turn · pinch to zoom
G · where it goes
Common uses
Bookcases
Fixed shelves housed in both sides: the classic use, strong enough for a full row of books.
Cabinet shelves
Shelves and dividers in kitchen and wall cabinets, where they also keep the case square.
Drawer bottoms
The bottom slides into a groove run round the drawer’s sides and front.
Stair treads
Treads housed in the stringers of a staircase or a sturdy step stool.
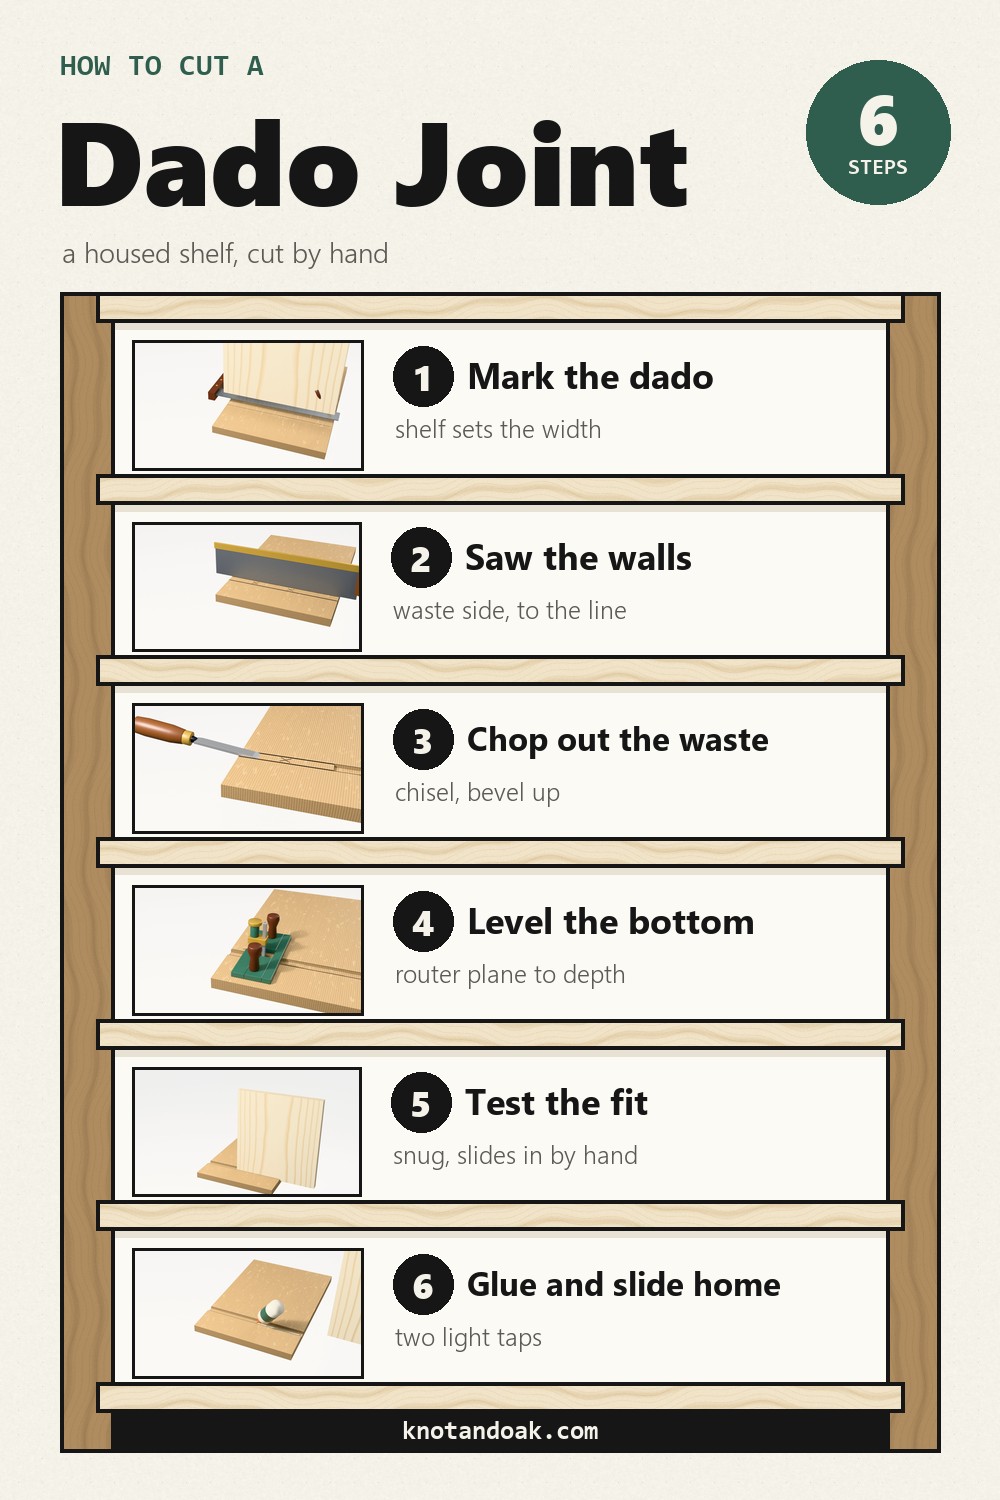
Keep this sheet
All six steps on one card
Pin it, or keep it by the bench for your next bookcase.